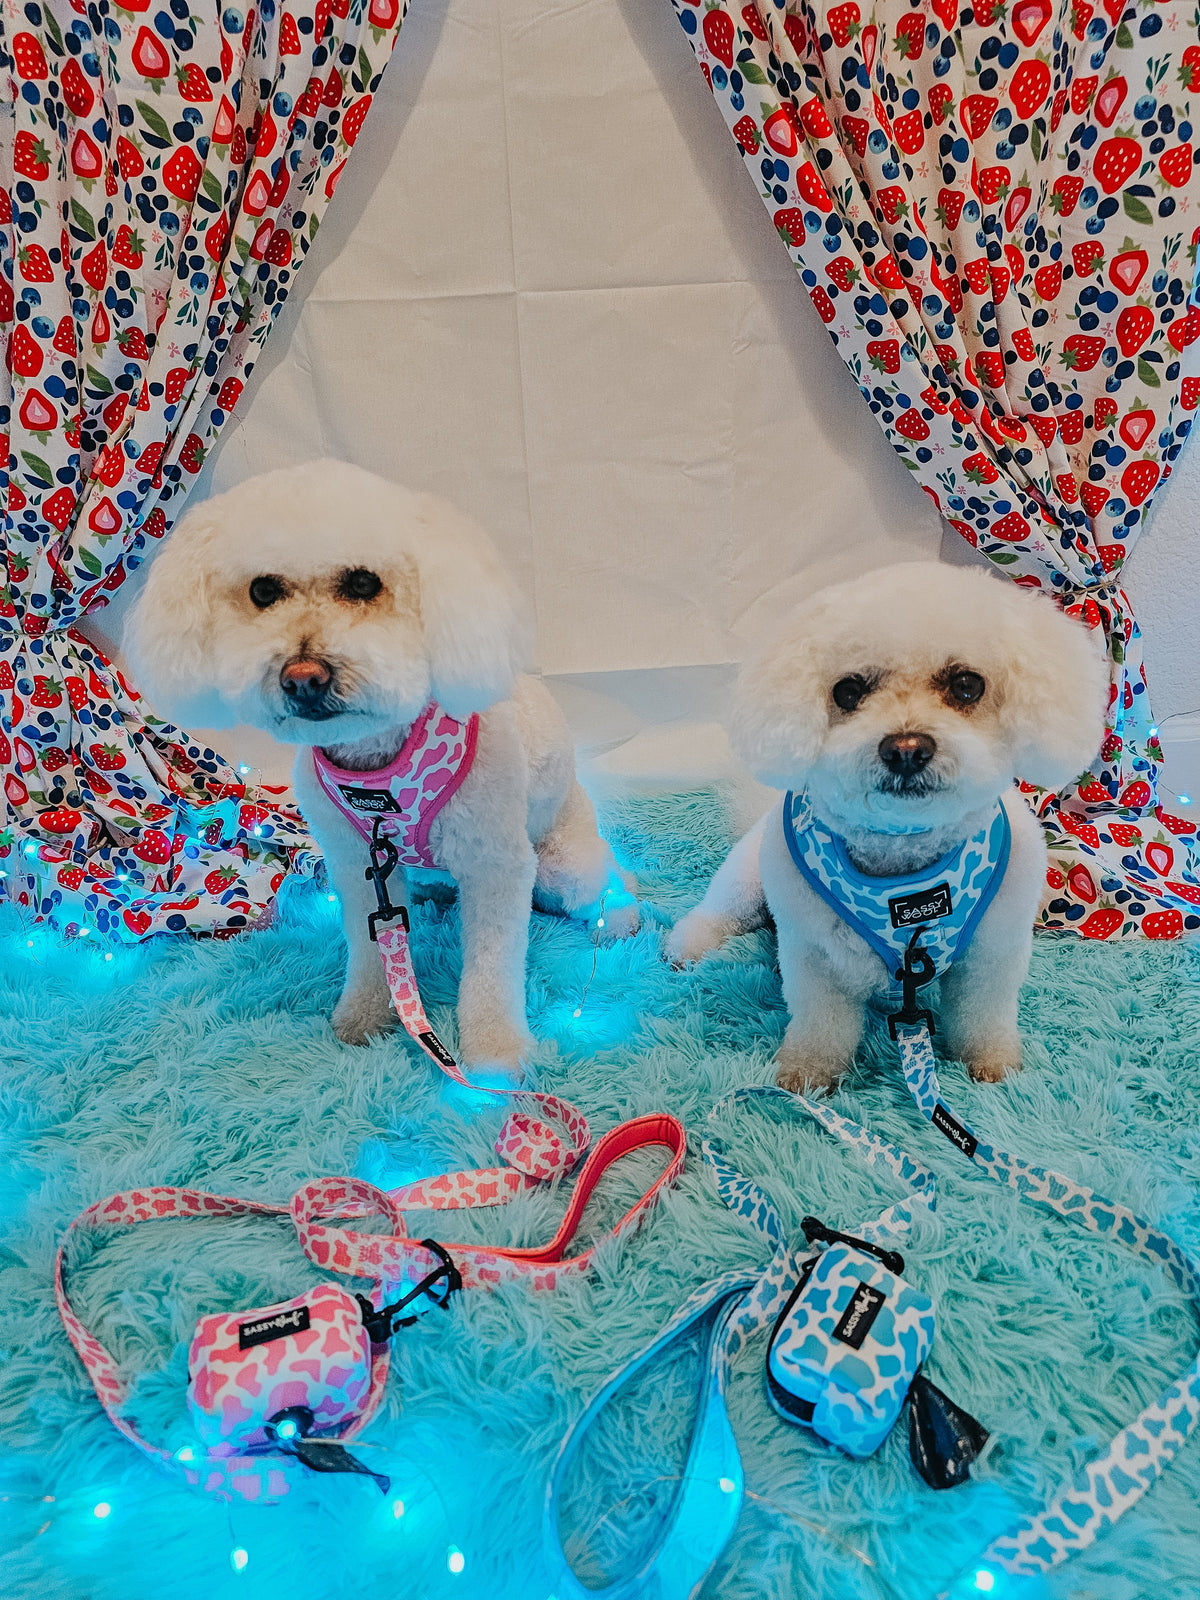
Dog Adjustable Harness - Blueberry Milk
Dog Adjustable Harness - Blueberry Milk
4.7 Rating, 3,152 Reviews
Regular price
$45.22 USD
Regular price
$58.64 USD
Sale price
$45.22 USD
Unit price
per


Olivia
verified
and people bought
Couldn't load pickup availability
Money-Back Guarantee
Money-Back Guarantee
If you're not completely blown away by the experience, we'll give you a full refund no questions asked, you have 30 days to request a return.
100% Secure Check Out
100% Secure Check Out
Your information is fully protected with top-notch security technology. Shop with complete confidence and peace of mind.
Sale – Last 48 Hours!
Sale – Last 48 Hours!
Once the promotion ends, the product will return to its original price.
i
UPDATE:
We're going viral on social media and stock is running low.
Order now before it's sold out again!
Order now before it's sold out again!
Imagine your pup trotting around in a cow print harness that combines rustic charm with a modern twist, all while being complemented by the serene, soothing tones of light blue reminiscent of fresh blueberry milk.
Description
Our original patented design features:
- Two D-rings:
- One D-ring on back for leash attachment
- Another versatile front D-ring that can be used for "no pull" or tags
- Custom printed neoprene fabric with breathable mesh
- Adjusts at the neck and chest for the perfect fit
- Sizes from XXSmall to XXLarge
- Pair this harness with our matching collar, leash, and waste bag holder
Puppy Growth Pawtection Plan (U.S. ONLY):
This harness qualifies for our Puppy Growth Pawtection Plan (PGPP), which will let you replace this harness for a larger one within 9 months because of natural growth! The PGPP must be added at the time of purchase. Find pricing information and other details .
Sizing & Care Instructions

- Spot clean with soap and water. Hang to dry.
How-To Videos